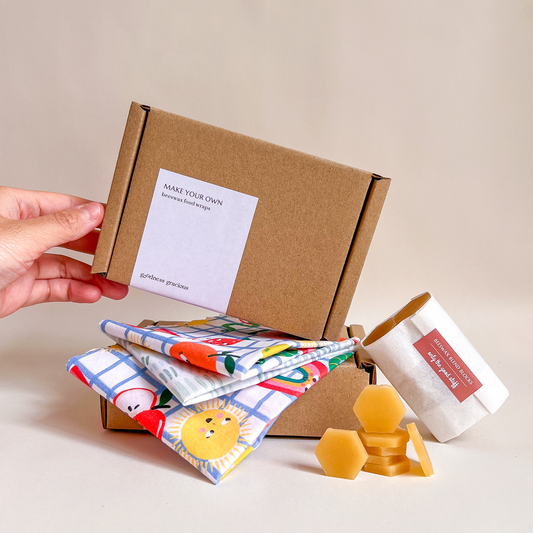
Make your own beeswax wraps for a plastic-free kitchen
Reduce plastic food wraps in your kitchen with a healthier and sustainable way to store food.
Whether you’re a wrap-making beginner or a seasoned pro, making these beeswax wraps are surprisingly simple. We have put together some easy instructions to make this a fun, creative craft with a fabulous eco twist and a great way to reduce the use of plastic in your household.

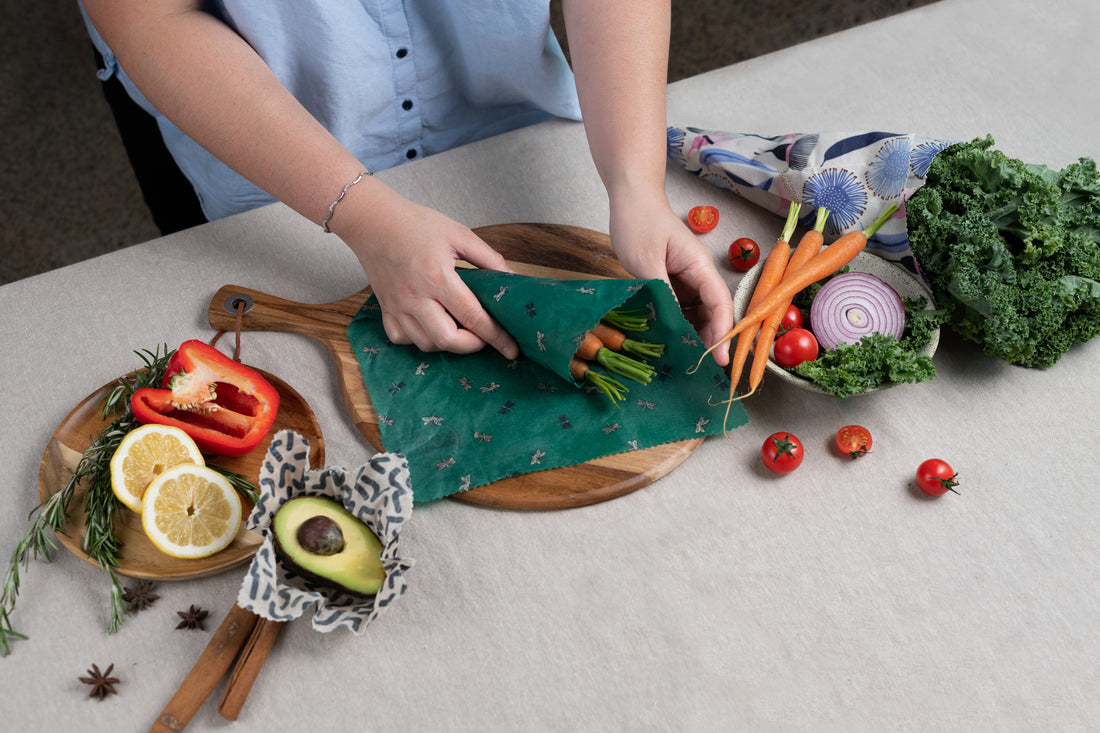
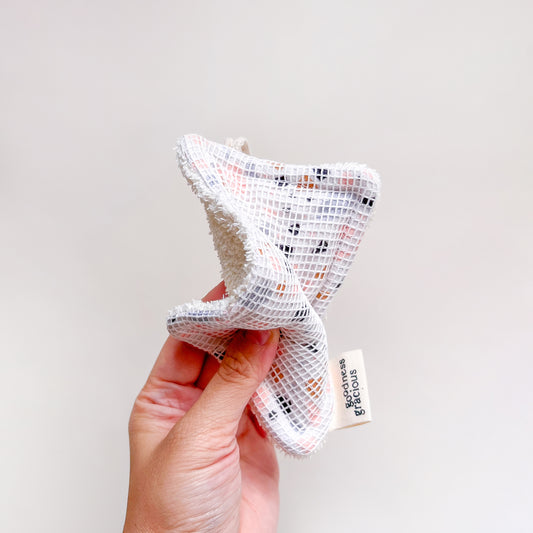
Beeswax food wraps are self-adhesive, pliable and has the nicest, most delicate honey scent. They are malleable at room temperature, in the fridge they will become stiff and take on a new shape, they will soon soften when returned to room temperature. And best of all, you don't toss it when you're done. Simply wash it and reuse it over and over again.
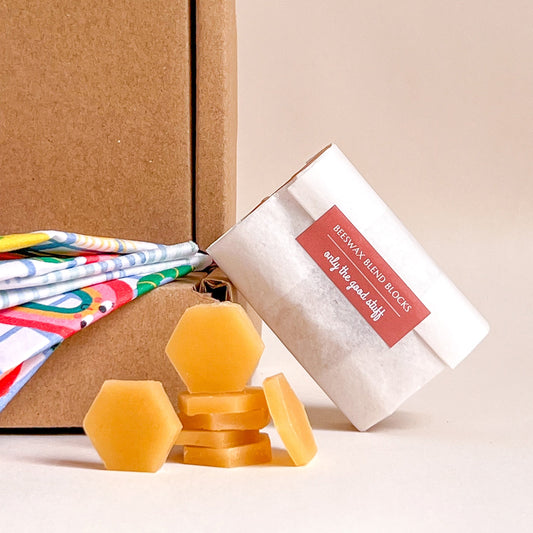
Each DIY Beeswax Wrap kit includes:
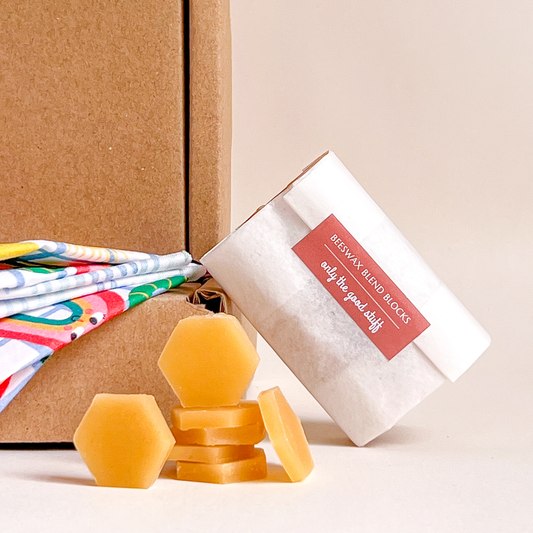
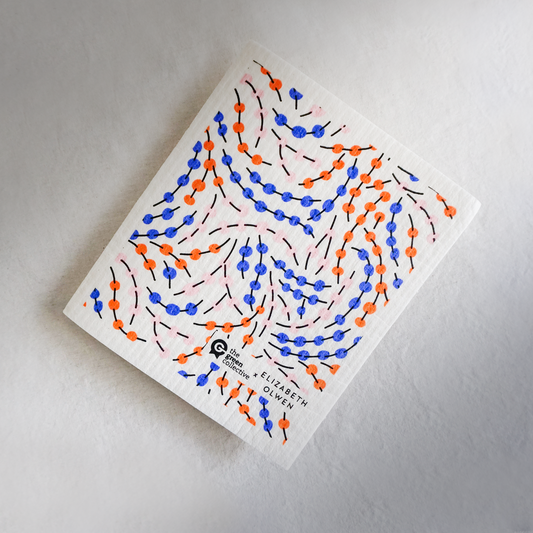
- Pre-cut organic cotton fabric squares
- Beeswax blend blocks made with Australian beeswax, organic coconut oil and natural tree resin.
- Baking paper
- Guided instructions and care card
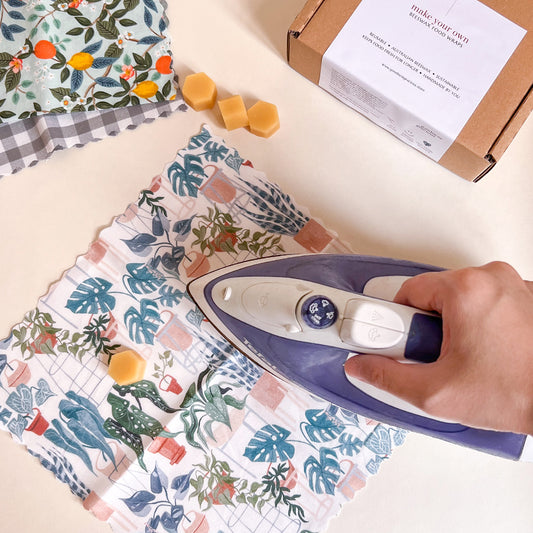
All you need to prepare at home is – an iron, ironing board, a used tea towel and a pinking shears (optional).
If you have not get your hands on one of our DIY Kits, be sure to check it out - Shop our DIY beeswax wrap kits. This fabulous kit has everything you need to have a fun crafter-noon with your friends, children and they are also a great gifting option for eco-conscious recipients or wedding favours for your guests.
How to make your own beeswax food wraps
1. Protect your ironing board with an old tea towel. Turn your iron to medium heat with the steam function off.
2. Place one piece of baking paper on top of the tea towel and place the fabric on top of the baking paper.


5. Once the wax is melted fully into the fabric, peel the top piece of baking paper and immediately lift the fabric by the corners and peel away from the baking paper. Be careful it will be hot.
6. Waft in the air for 10 seconds until the wax dries. Wait a further 10 minutes for the wax to set fully. You can trim frayed edges with scissors or pinking shears (optional).

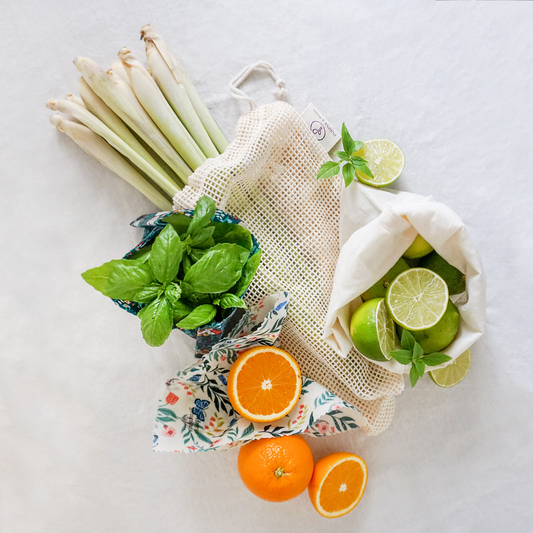
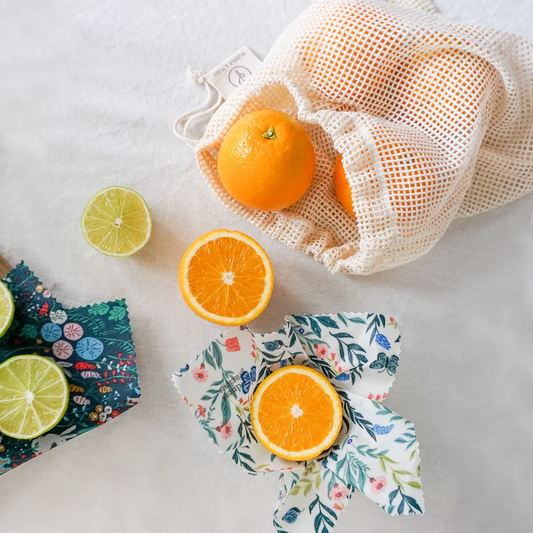
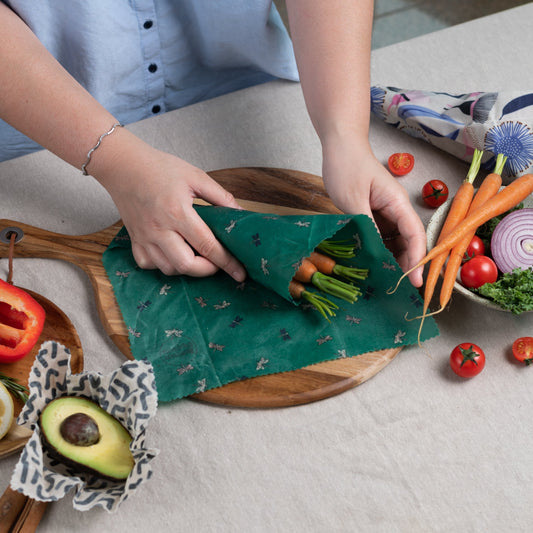
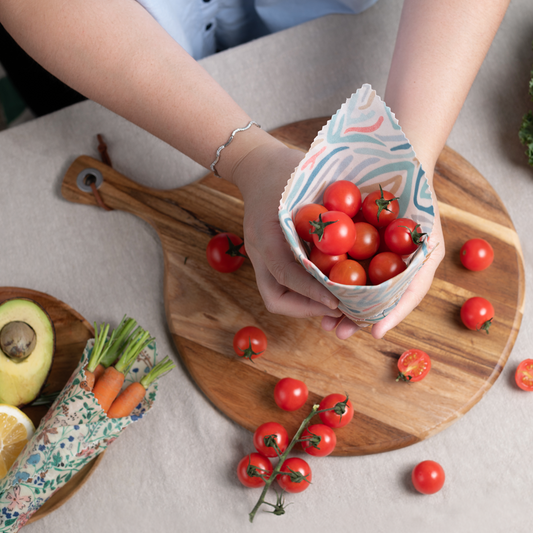
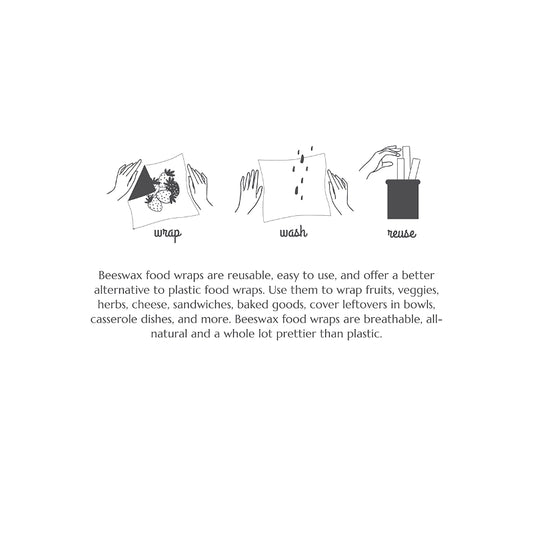
Sustainably wrap half avocados, cheeses, veggies, sandwiches, casserole dishes, and just about anything else you want to keep fresh for longer. Your food will last longer when it is stored in beeswax wrap because beeswax coating allows the food to breathe, whilst covered and sealed.
Learn more about how to use beeswax food wrap
Once you’ve made your wraps, make sure you pay close attention to our Caring for your beeswax food wraps page for tips and tricks to make them long-lasting. Hand wash in cold water with mild soap. Air dry on a dish rack or towel dry for immediate use. Roll or fold your beeswax wraps and store them in a kitchen drawer or dry place.
Most importantly, keep away from all heat and direct sunlight. Beeswax wraps are not suitable for dishwashers, washing machines, microwaves, and ovens. Do not use to cover raw meat. With proper care, you should be able to reuse your wraps for up to 12 months. We recommend that you refresh your wraps every 4-6 months, depending on their condition.
__
__
Note: Always be careful with hot irons and hot wax. Children under 12 years must be supervised by an adult when working on this craft. You can remove wax from your work surface by using a hot towel. Wax on fingers is best removed with a little hand cream first and then wash as normal.